|
Home Plate ProcessI thought you might like to see how I create your Legends Hand Painted Home Plate.
1.
First I start with a blank, 10 inch home plate. They look and feel just like a real home plate except that they are 10 inches across.
______________________________
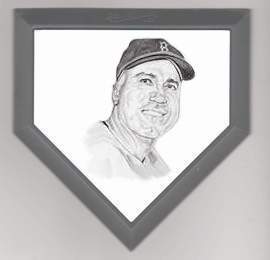
2.
A pencil is used to create the life like drawing of Duke Snider's face.
______________________________
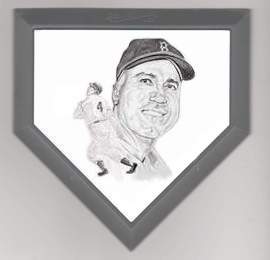
3.
The action drawing of Duke hitting a home run at Ebbets Field is then added.
______________________________
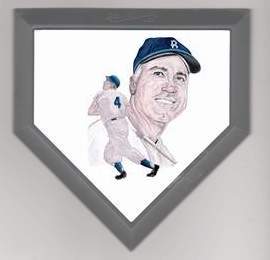
4.
I then slowly and carefully paint in the colors with small paint brushes and acrylic paints.
______________________________
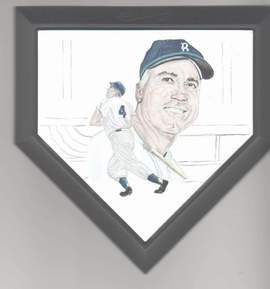
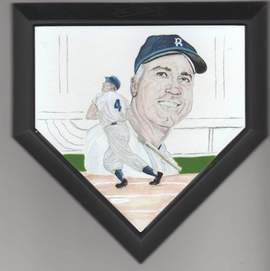
5.
Here you can see that I penciled in what is going to be the background.
______________________________
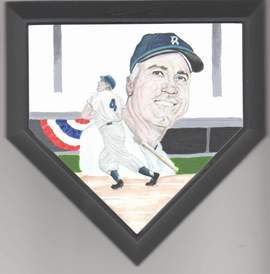
6.
The dirt, the batter's box and the grass have been painted.
______________________________
7.
Next, I painted the dugout, the wall and bunting and also the "I" beams that no one wanted to sit behind.
______________________________
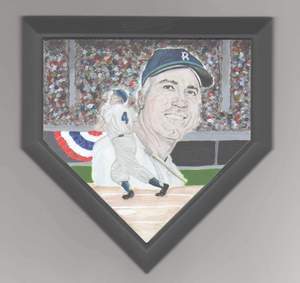
8.
Finally I painted the crowd in the grandstands. This particular step takes the most time to complete.
And there you have it. When I'm finished, the home plate gets a final inspection. I take some time to take a good look around to make sure nothing was missed or painted in-correctly.
And here's the final Legends Hand Painted Home Plate.
All Rights Reserved. |